Optimizing Your Gaming Setup for Professional Streaming
Creating a professional streaming environment requires careful consideration of your hardware setup, lighting configuration, and background design. This guide will help you transform your gaming space into a streaming studio that will impress your viewers and enhance your content quality.
Essential Hardware Arrangement
Multi-Monitor Setup
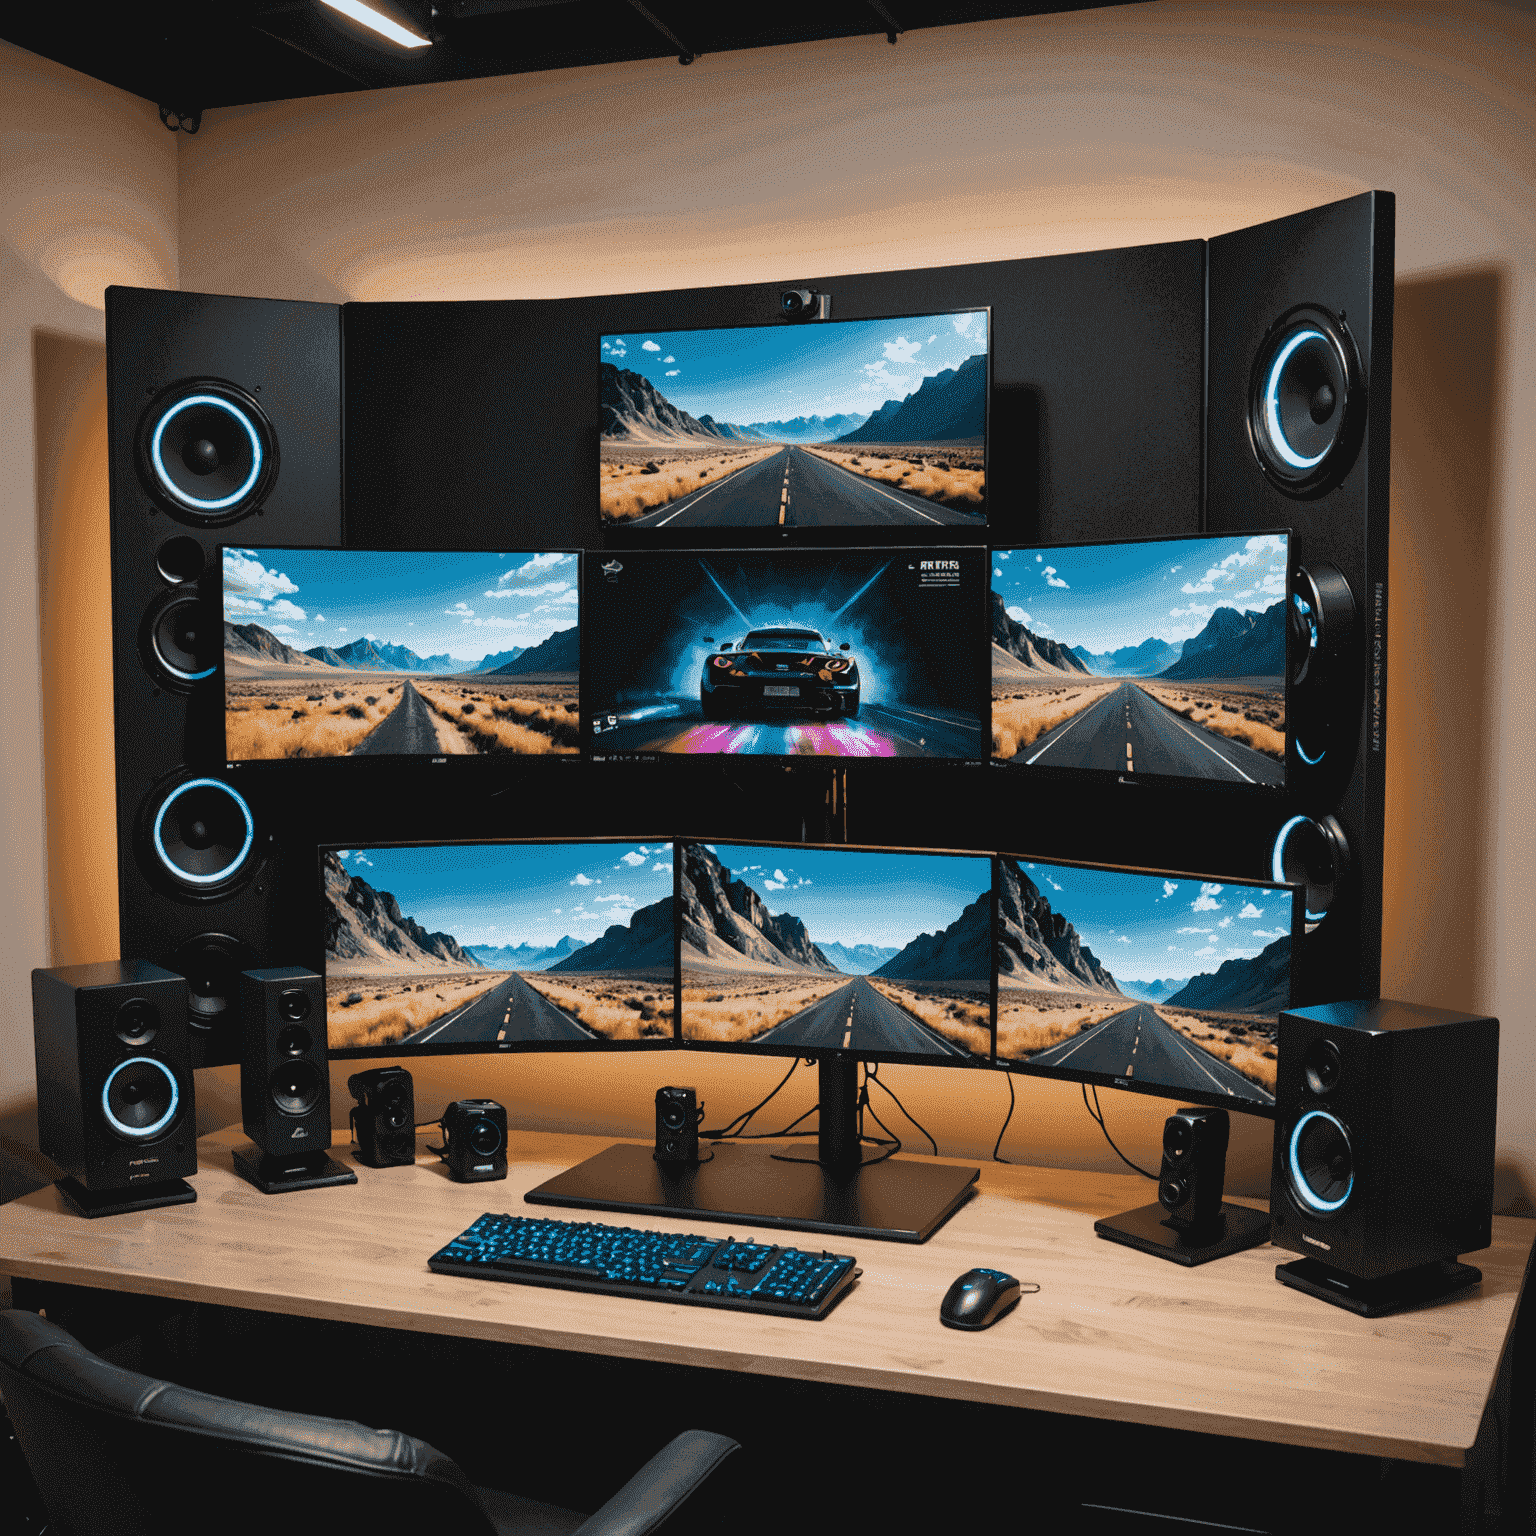
A dual or triple monitor configuration is ideal for professional streaming. Dedicate one screen for your game, another for monitoring your stream (chat, alerts, etc.), and a third (if available) for stream management tools like OBS.
Position your primary gaming monitor directly in front of you, with secondary monitors at comfortable viewing angles. This arrangement minimizes head movement during streams, creating a more engaging viewer experience.
Camera Positioning
Mount your webcam at eye level, ideally centered above your primary monitor. This creates the most natural viewing angle for your audience. Avoid positioning the camera too low (unflattering angles) or too high (disconnected feeling).
If using a DSLR or mirrorless camera for higher quality, ensure it's securely mounted and positioned to capture your best angle without obstructing your view of the game.
Pro Tip: Using Parsec for Remote Streaming
If you're using a dual-PC setup or streaming from a different location than your gaming rig, Parsec can be an excellent tool for low-latency remote access. Configure Parsec to prioritize quality when streaming your gameplay to your broadcasting PC for the best results.
Ergonomic Considerations
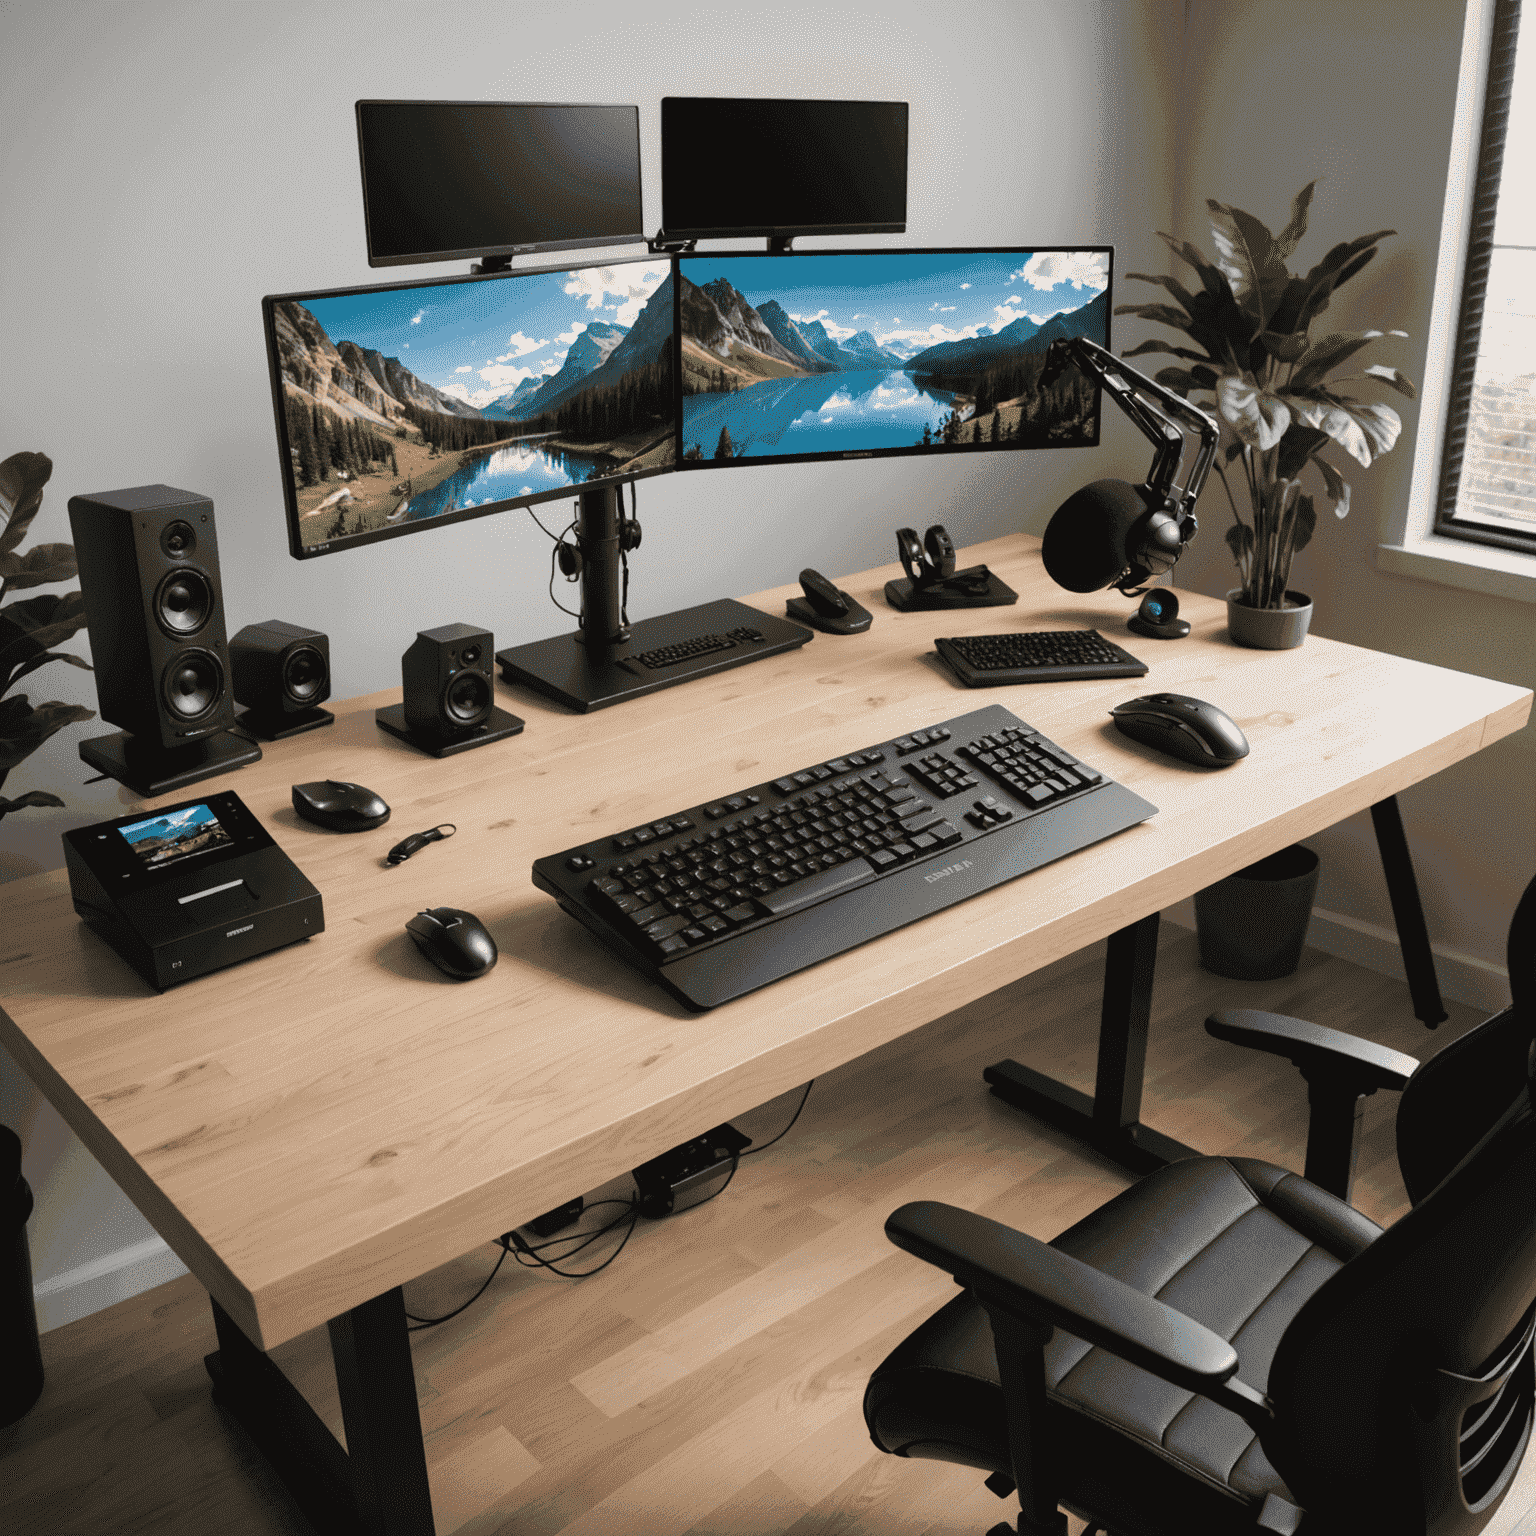
Arrange your keyboard, mouse, stream deck, and other peripherals for comfortable, extended use. Consider:
- Keyboard positioned for neutral wrist position
- Mouse with adequate space for your gaming style
- Stream deck or hotkey pad within easy reach
- Microphone on a boom arm to minimize desk space usage
- Headphones stand or hook for easy access
Remember that streaming sessions can last for hours, so prioritize comfort to maintain energy and prevent strain injuries.
Professional Lighting Setup
Three-Point Lighting
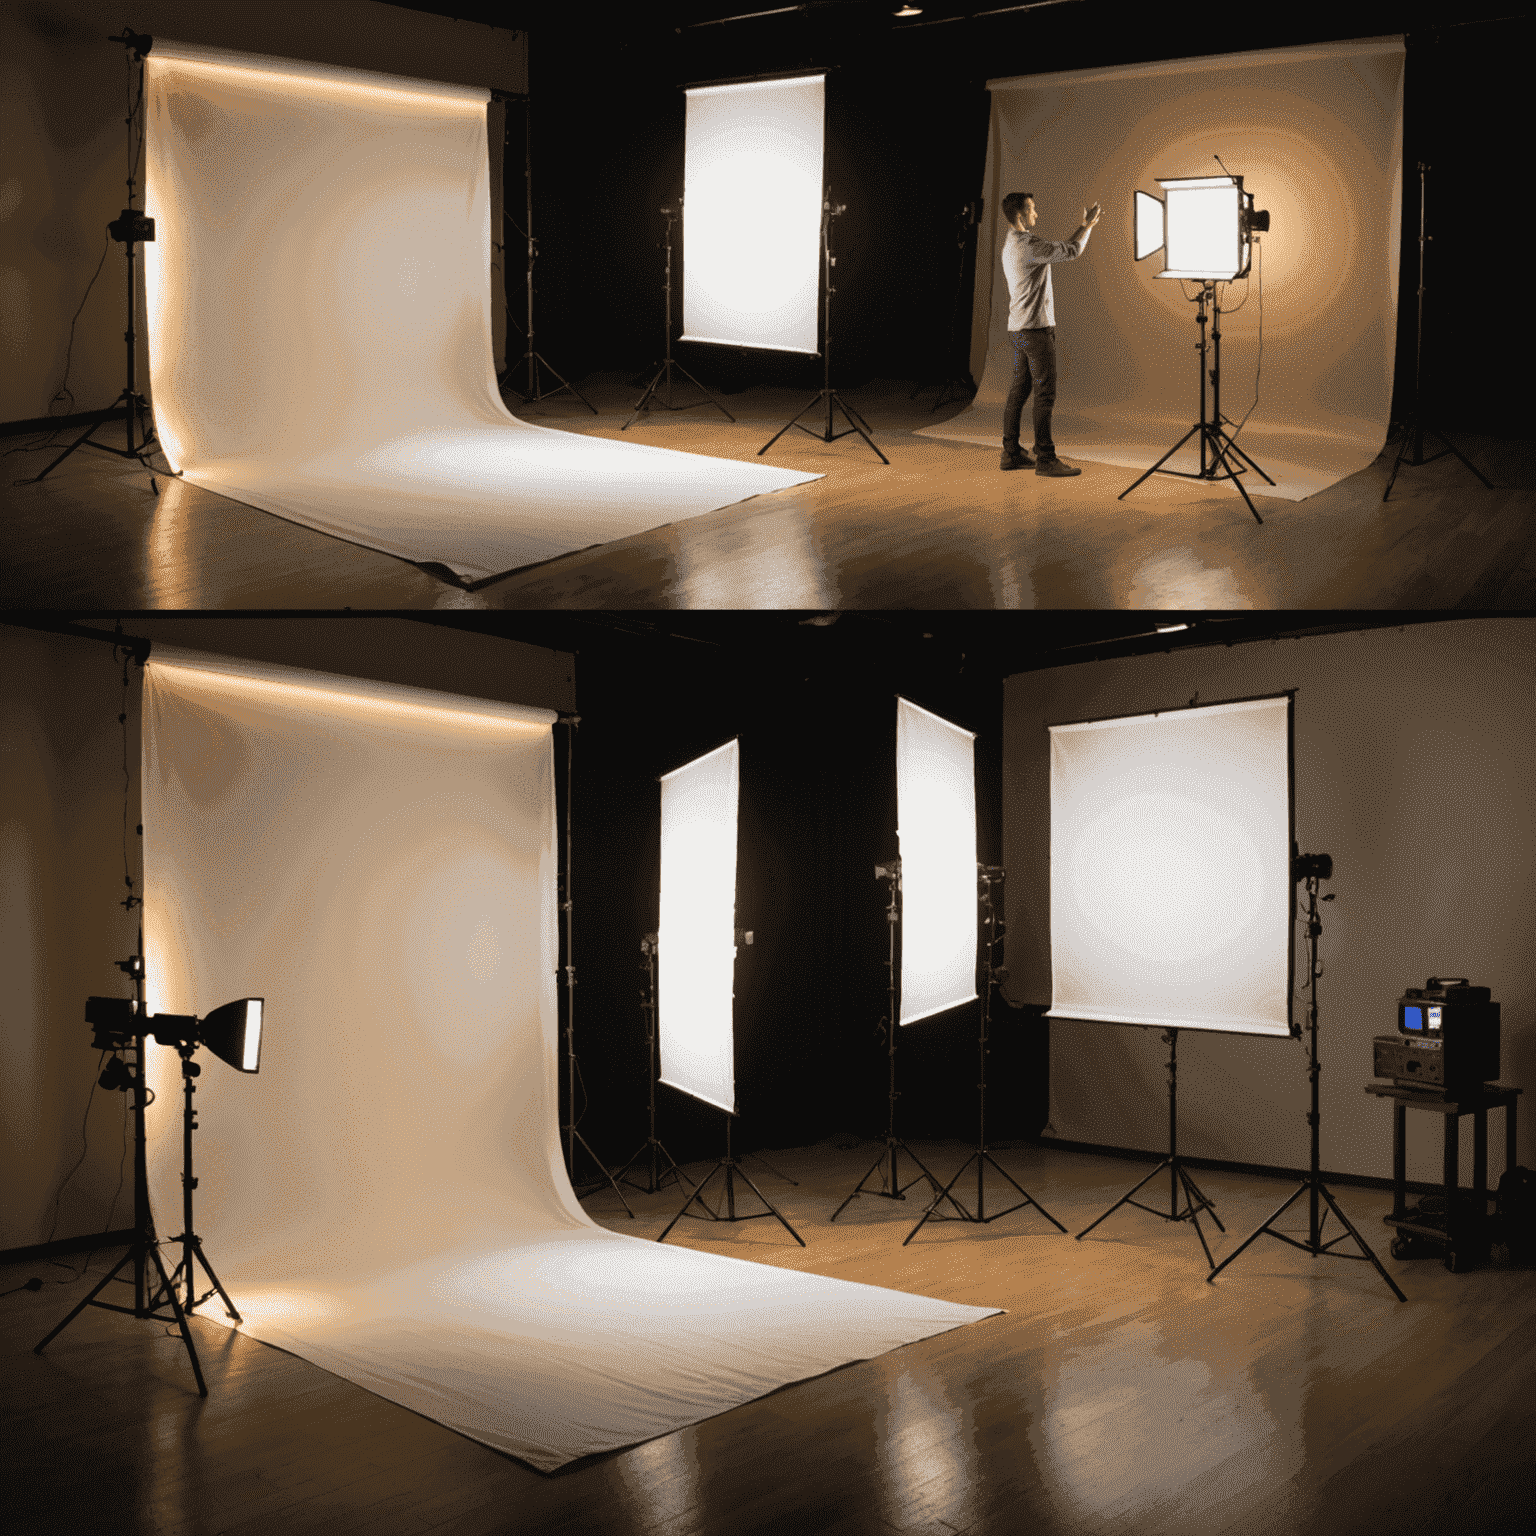
Professional streamers use a three-point lighting system:
- Key Light: Your primary light source, positioned at a 45° angle to your face. This should be your brightest light.
- Fill Light: A softer light placed opposite your key light to fill in shadows. This should be about half the intensity of your key light.
- Back/Rim Light: Positioned behind you to create separation between you and the background. This adds depth to your stream.
LED panel lights or ring lights make excellent key lights, while smaller LED lights can serve as fill and back lights. Adjustable brightness and color temperature are essential features to look for.
Color Temperature
Maintain consistent color temperature across all your lights (typically 4500-5500K for a natural look). Mixed color temperatures create an unprofessional appearance and can make color correction difficult.
Consider using RGB lights for accent lighting or to match your brand colors in the background, but keep your face lighting neutral and consistent.
Avoiding Common Lighting Issues
- Eliminate harsh shadows by using diffusers on your lights
- Prevent glare on glasses by adjusting light angles
- Avoid lighting that causes eye strain during long sessions
- Test your lighting setup with your camera before going live
- Consider how lighting changes throughout the day if using natural light
Creating a Professional Background
Background Design Elements
Your stream background significantly impacts viewer perception. Consider incorporating:
- Acoustic panels (functional and aesthetic)
- Subtle RGB lighting for depth and brand colors
- Gaming memorabilia or collectibles (organized, not cluttered)
- Branded elements that reinforce your channel identity
- Plants (real or artificial) to add life and color
Aim for a background that's interesting but not distracting. Viewers should focus on you and the game, not be distracted by your background.
Green Screen vs. Natural Background
Green Screen Advantages:
- Maximizes game visibility
- Creates a clean, professional look
- Allows for creative overlays and effects
- Hides a messy or uninteresting room
Natural Background Advantages:
- Shows personality and brand identity
- Requires less technical setup and lighting
- Creates depth and dimension
- Feels more authentic and relatable
Your choice depends on your content style and technical capabilities. Many streamers switch between both options depending on the game or content type.
Optimizing OBS for Professional Streaming
OBS Configuration Tips
Open Broadcaster Software (OBS) is the industry standard for streaming. Optimize your OBS setup with these tips:
- Run OBS as administrator to give it priority access to system resources
- Use NVENC (NVIDIA) or AMF (AMD) encoder if available to reduce CPU load
- Set your output resolution to 1080p (or 720p if bandwidth limited)
- Use a keyframe interval of 2 for most streaming platforms
- Configure your audio sources with appropriate filters (noise suppression, compressor)
- Create scene collections for different games or content types
- Use hotkeys for quick scene switching during streams
Test your stream settings before going live using OBS's built-in bandwidth test or by recording locally to check quality.
Final Considerations
Sound Management
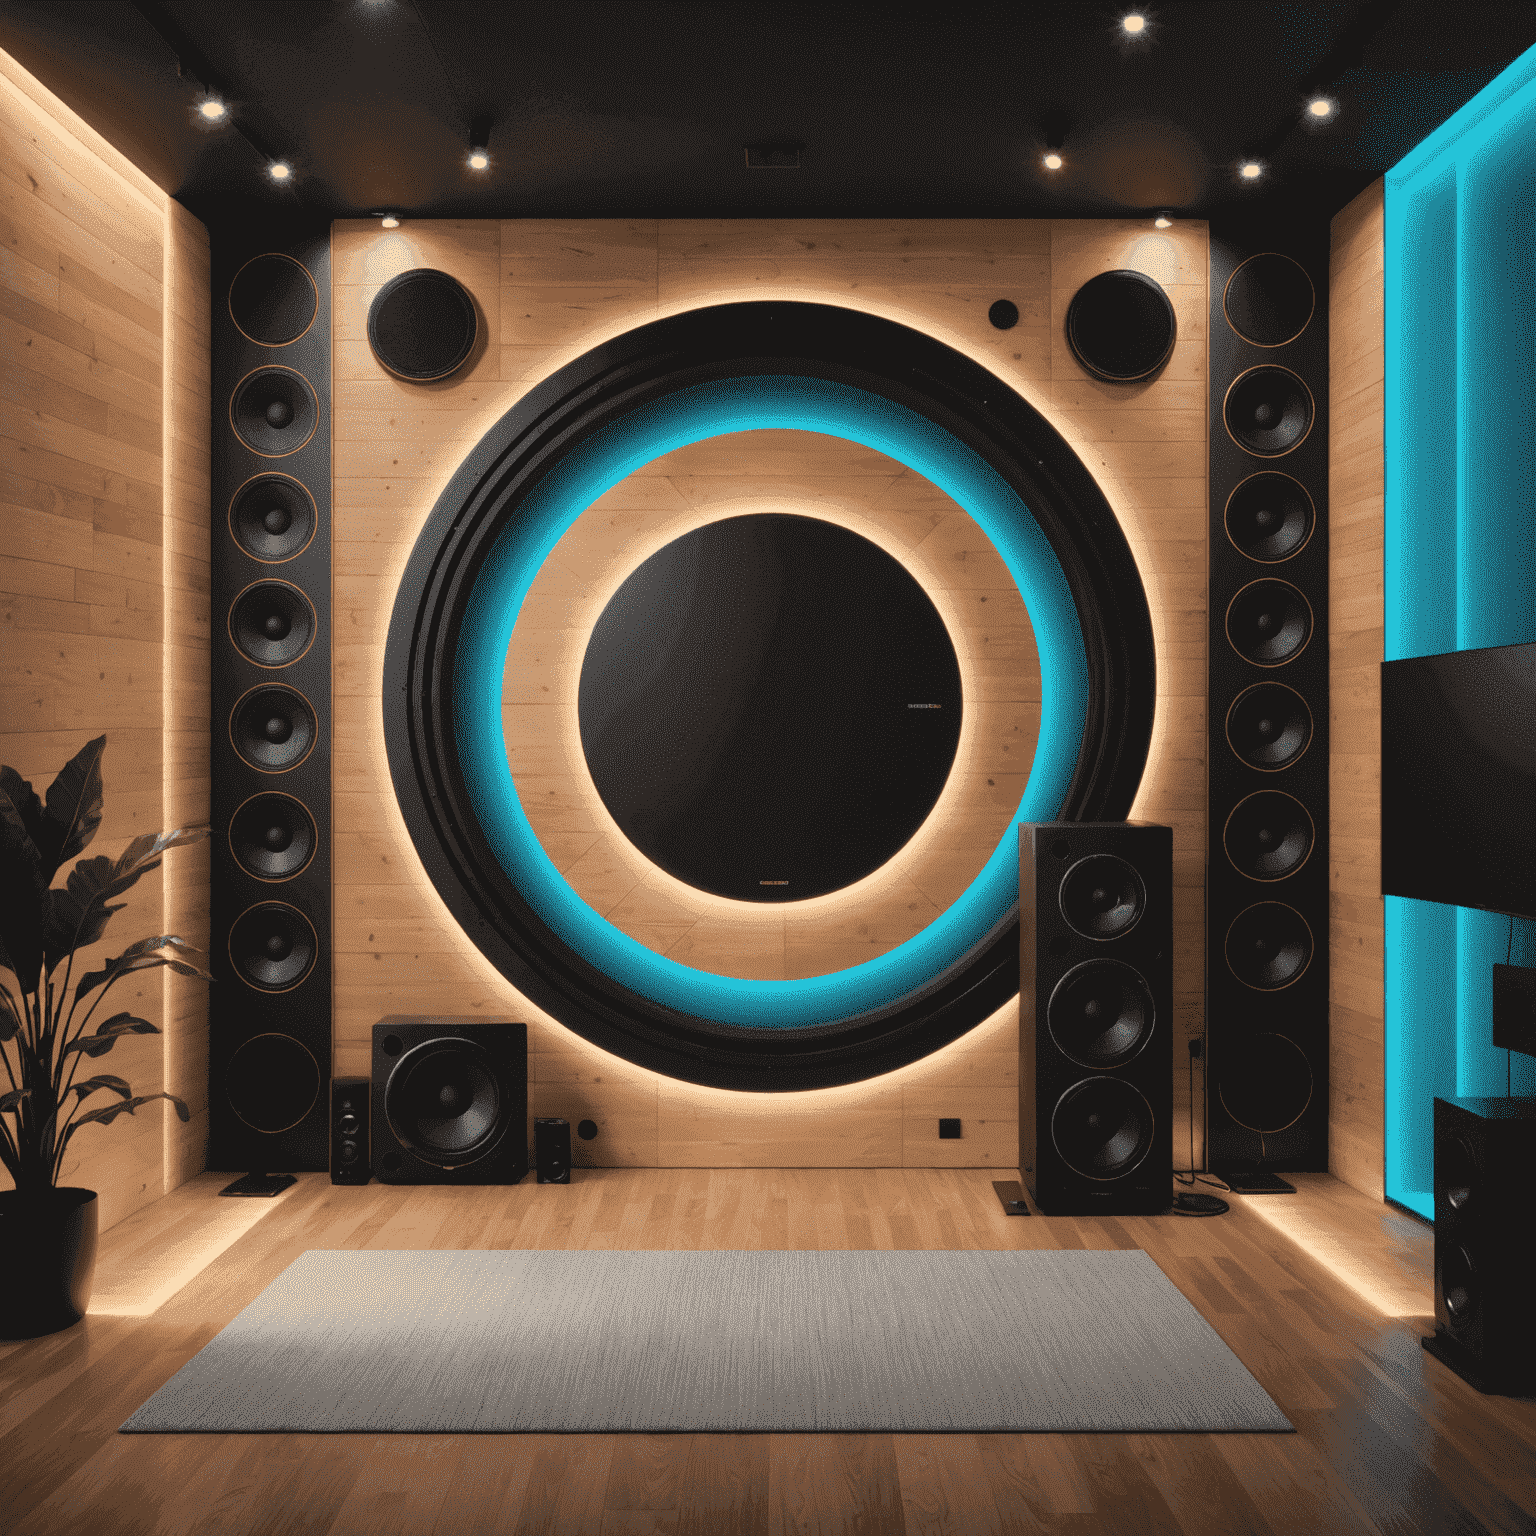
Invest in acoustic treatment to improve sound quality:
- Acoustic panels on walls to reduce echo
- Bass traps in corners for balanced sound
- Carpet or rug to minimize floor reflections
- Door seals to prevent outside noise